What is a Wallet?
Your wallet is like your account, or where you store and control your funds. With DeFi, only you can ever move anything in your wallet. Thanks to our social login feature, your social account can create a wallet for you in a few clicks, just by you signing in.How to Create a Social Wallet
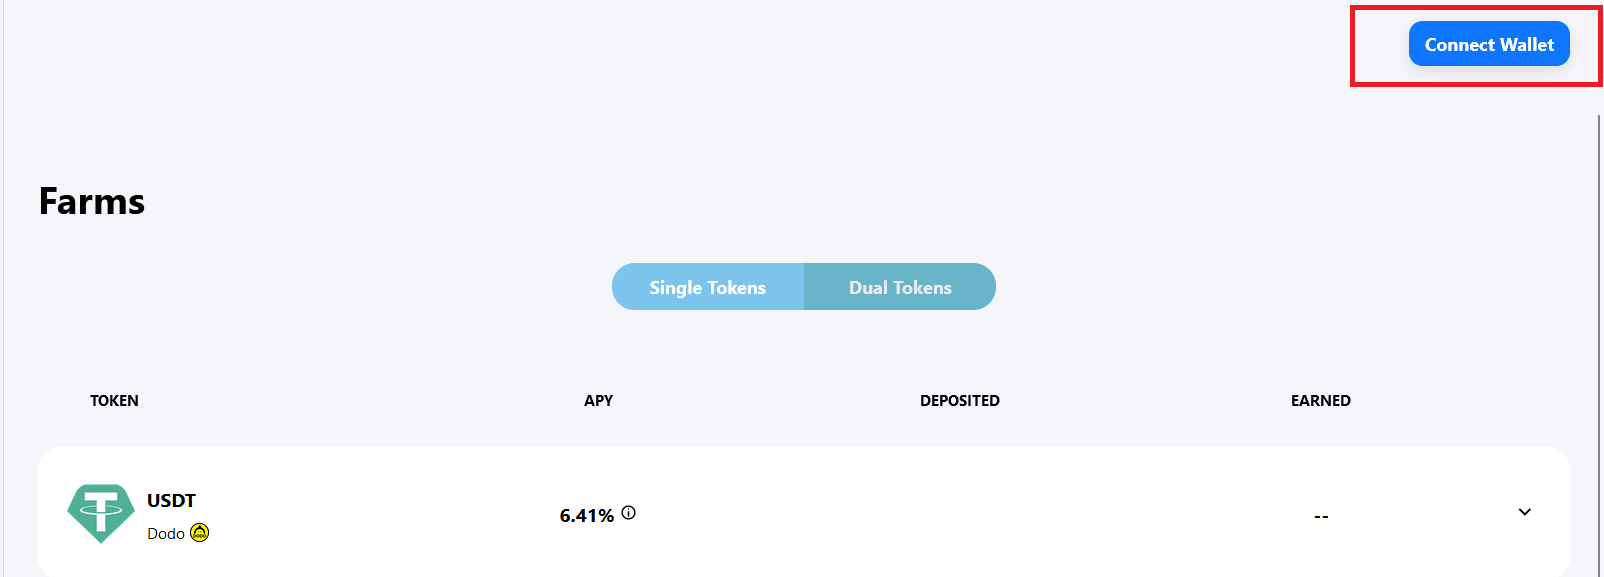
- Click “Connect Wallet” on the top right of the page.

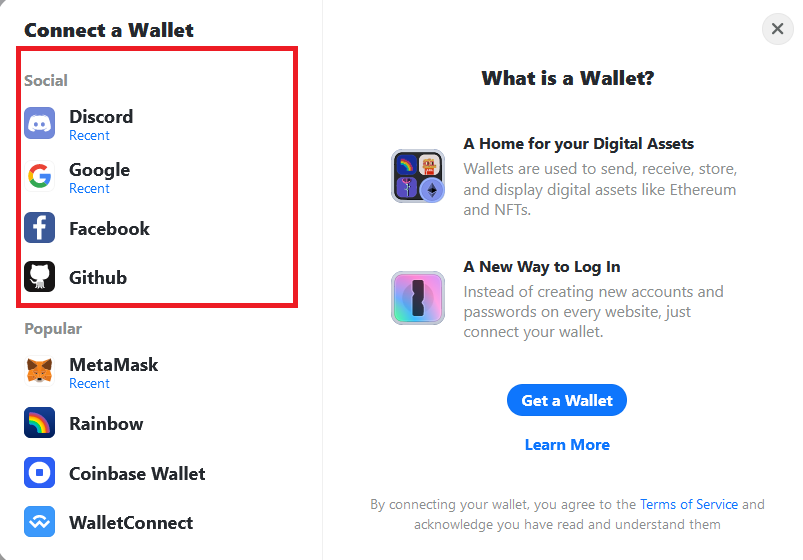
- Select your social network of choice and log in. The act of signing in creates your wallet if it doesn’t already exist.

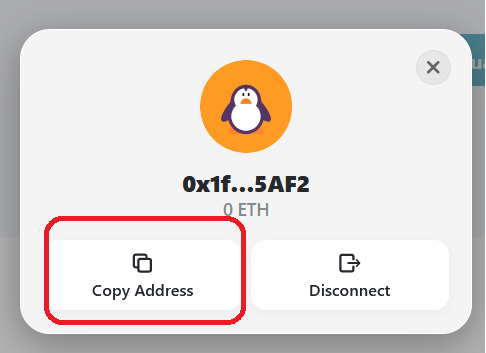
- After sign in, in the top right corner, you will now see your network as “Arbitrum One” and your wallet with 0 ETH.

Sending ETH to Your Wallet Address.
To send ETH to this address, you will need to know how to copy it. Just click the newly address itself (where it says 0 ETH) and then click “Copy Address”
Alternatively: Using MetaMask or Other Web3 Wallets
MetaMask and other wallets are also supported by Contrax. The main difference is that your MetaMask wallet can connect to any other web3 app as well, while your Social sign-in is limited to the Contrax dApp. You will also have an extra security with manual approvals required for each transaction. To use MetaMask instead of Social logins:- Select MetaMask after “Connect Wallet,” you will be prompted to download MetaMask for your browser.
- Follow the process to set up the extension or download the app. Be sure to save your 12 recovery words in writing in a safe place to ensure you can always have access to your wallet.
- Once installed, select “MetaMask” when you click “Connect Wallet” in the same browser you have the exenextension installed.
- Once connected, switch the network from “Ethereum” to “Arbitrum One”

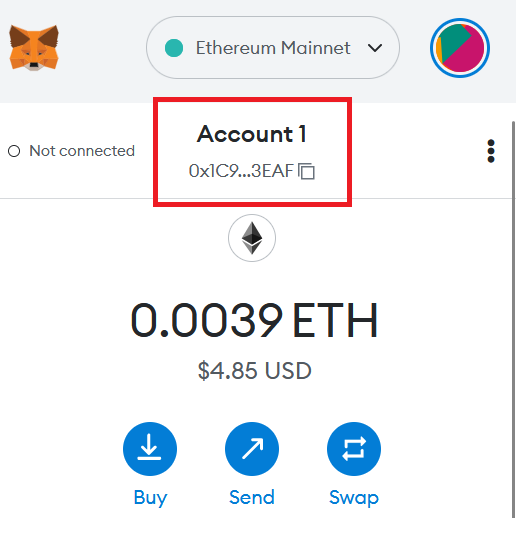
- You are set! To copy your wallet address to receive funds, just click the extension, and then click “Copy Address”


